Helm Installation
Install the Kedify Agent using Helm. You can do this either through the Kedify Service or manually by following the guide in this document.
Prerequisites
- A running Kubernetes cluster (local or cloud-based like EKS, GKE, etc.).
helminstalled and accessible in your environment.- An account created and signed in to the Kedify Service.
Installation with Kedify Service
Log in to the Kedify Service and open the cluster view:
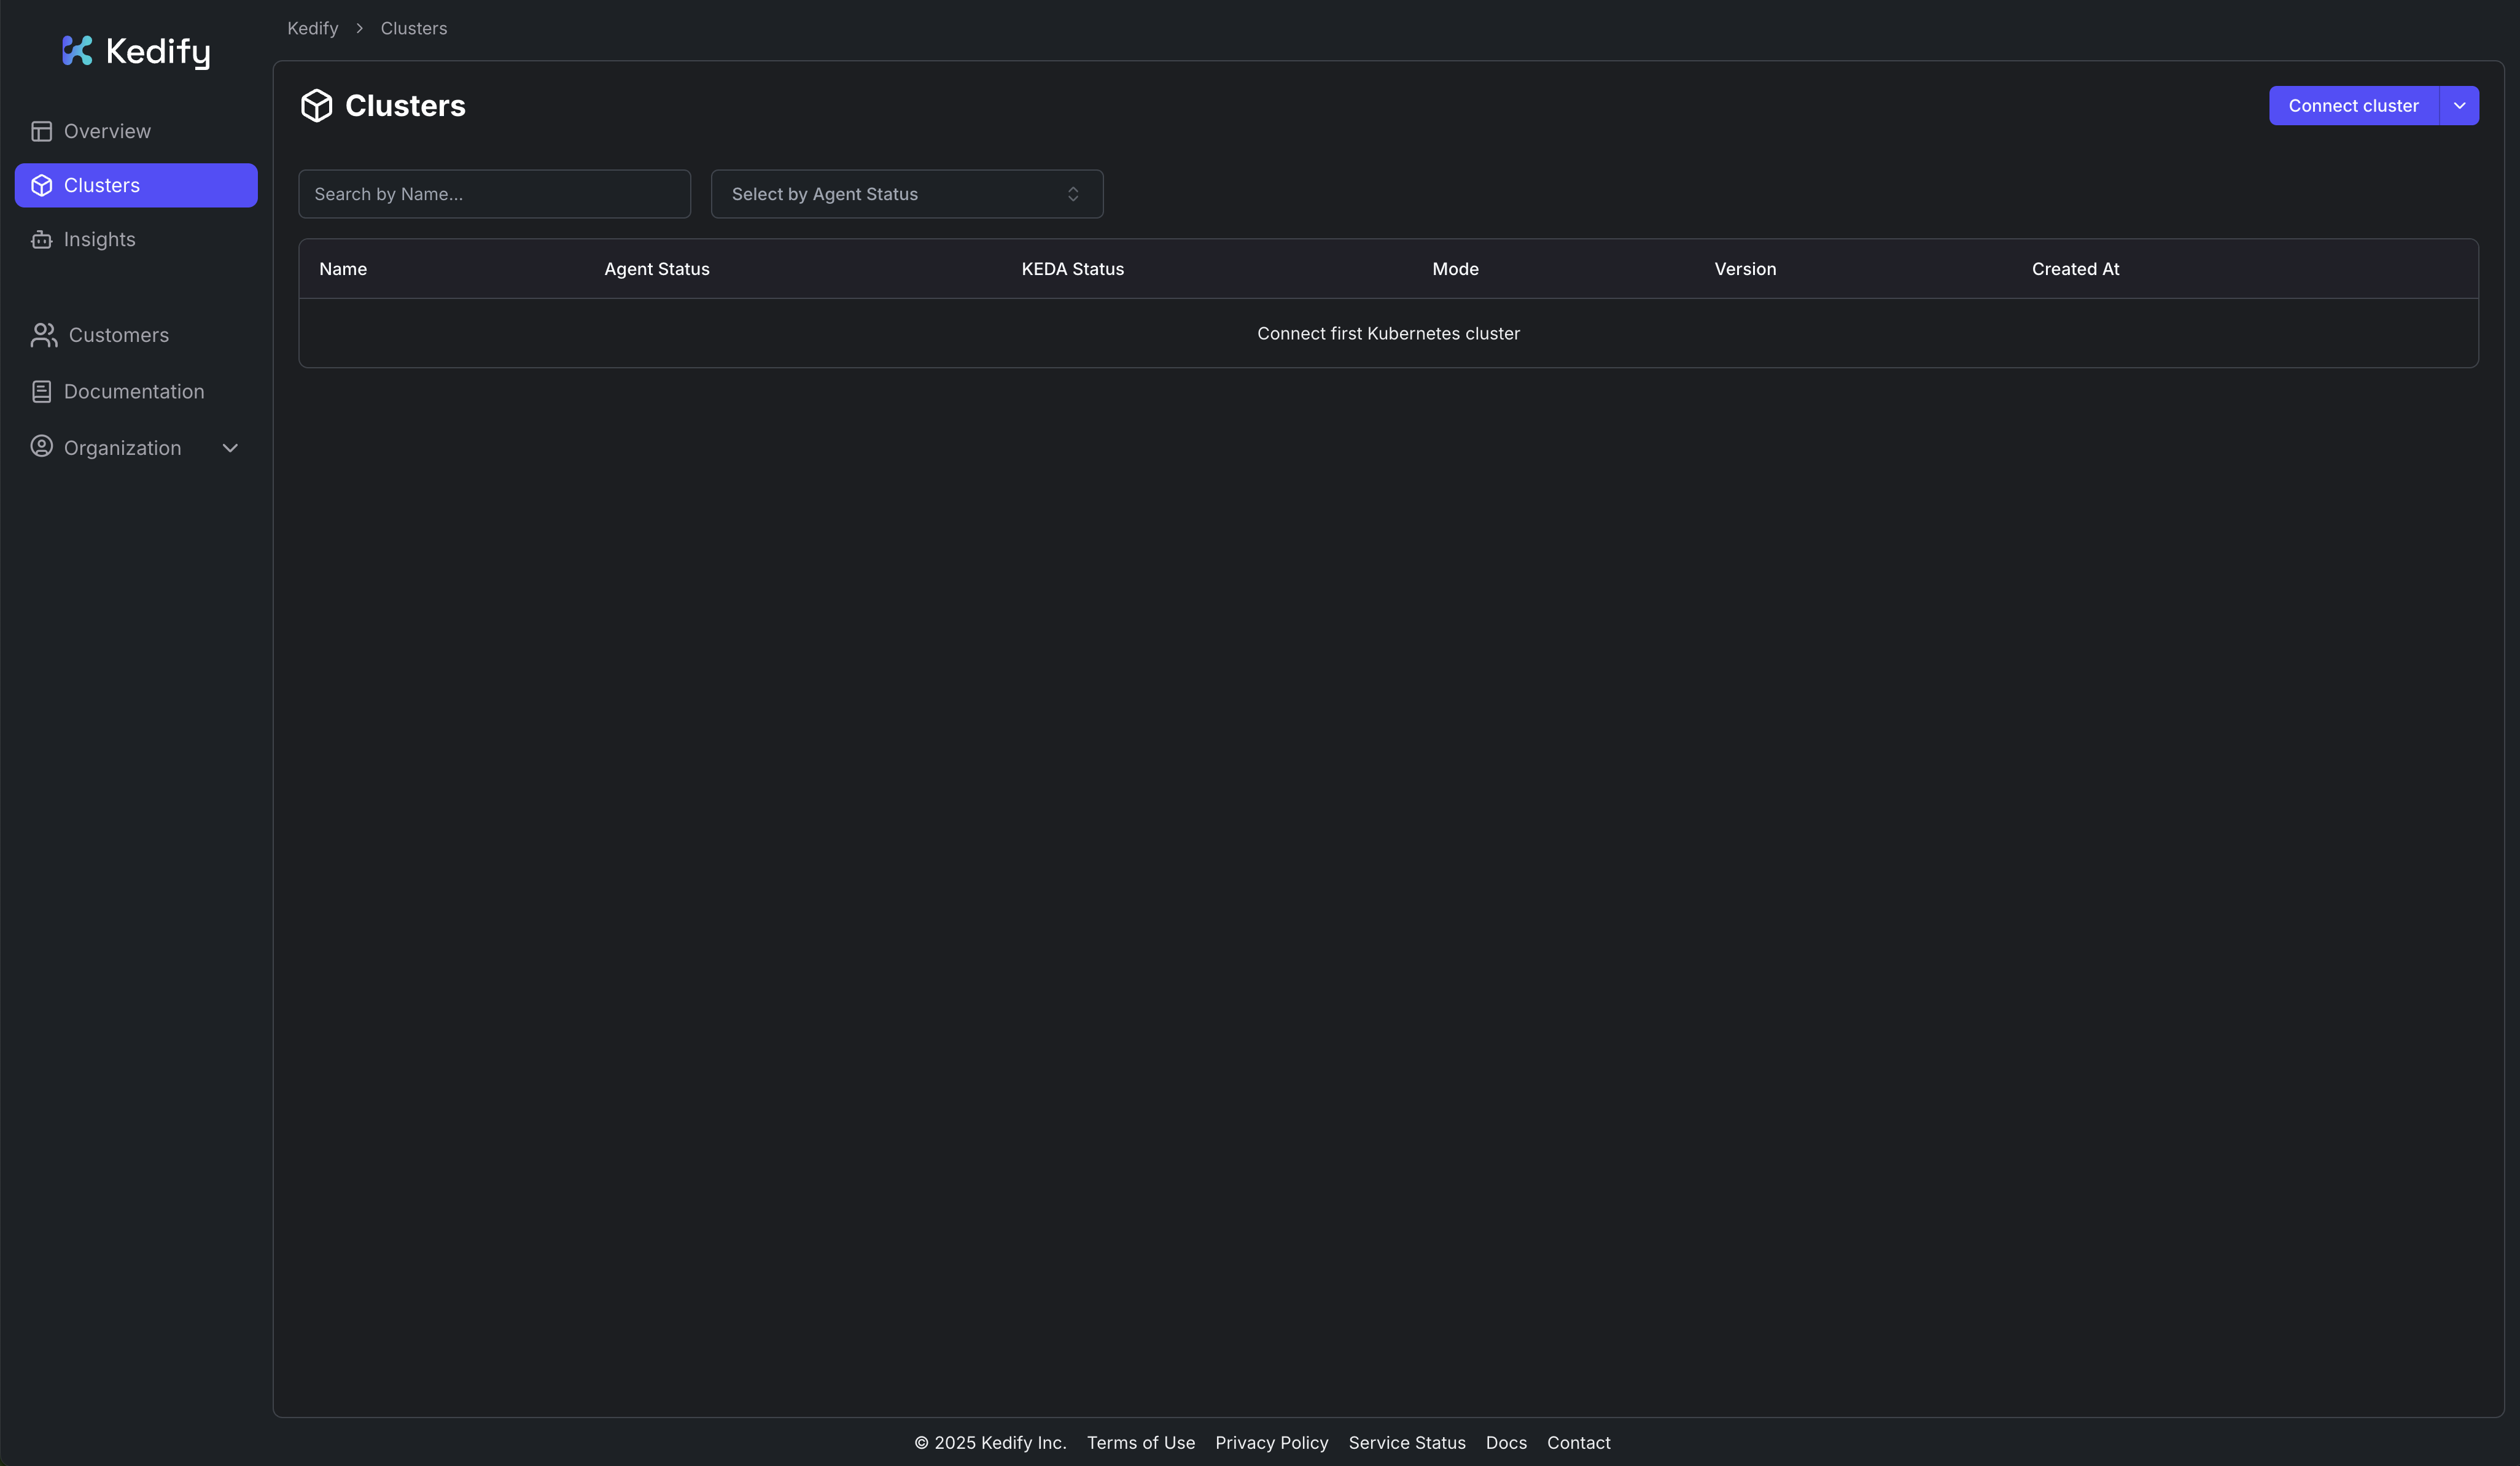
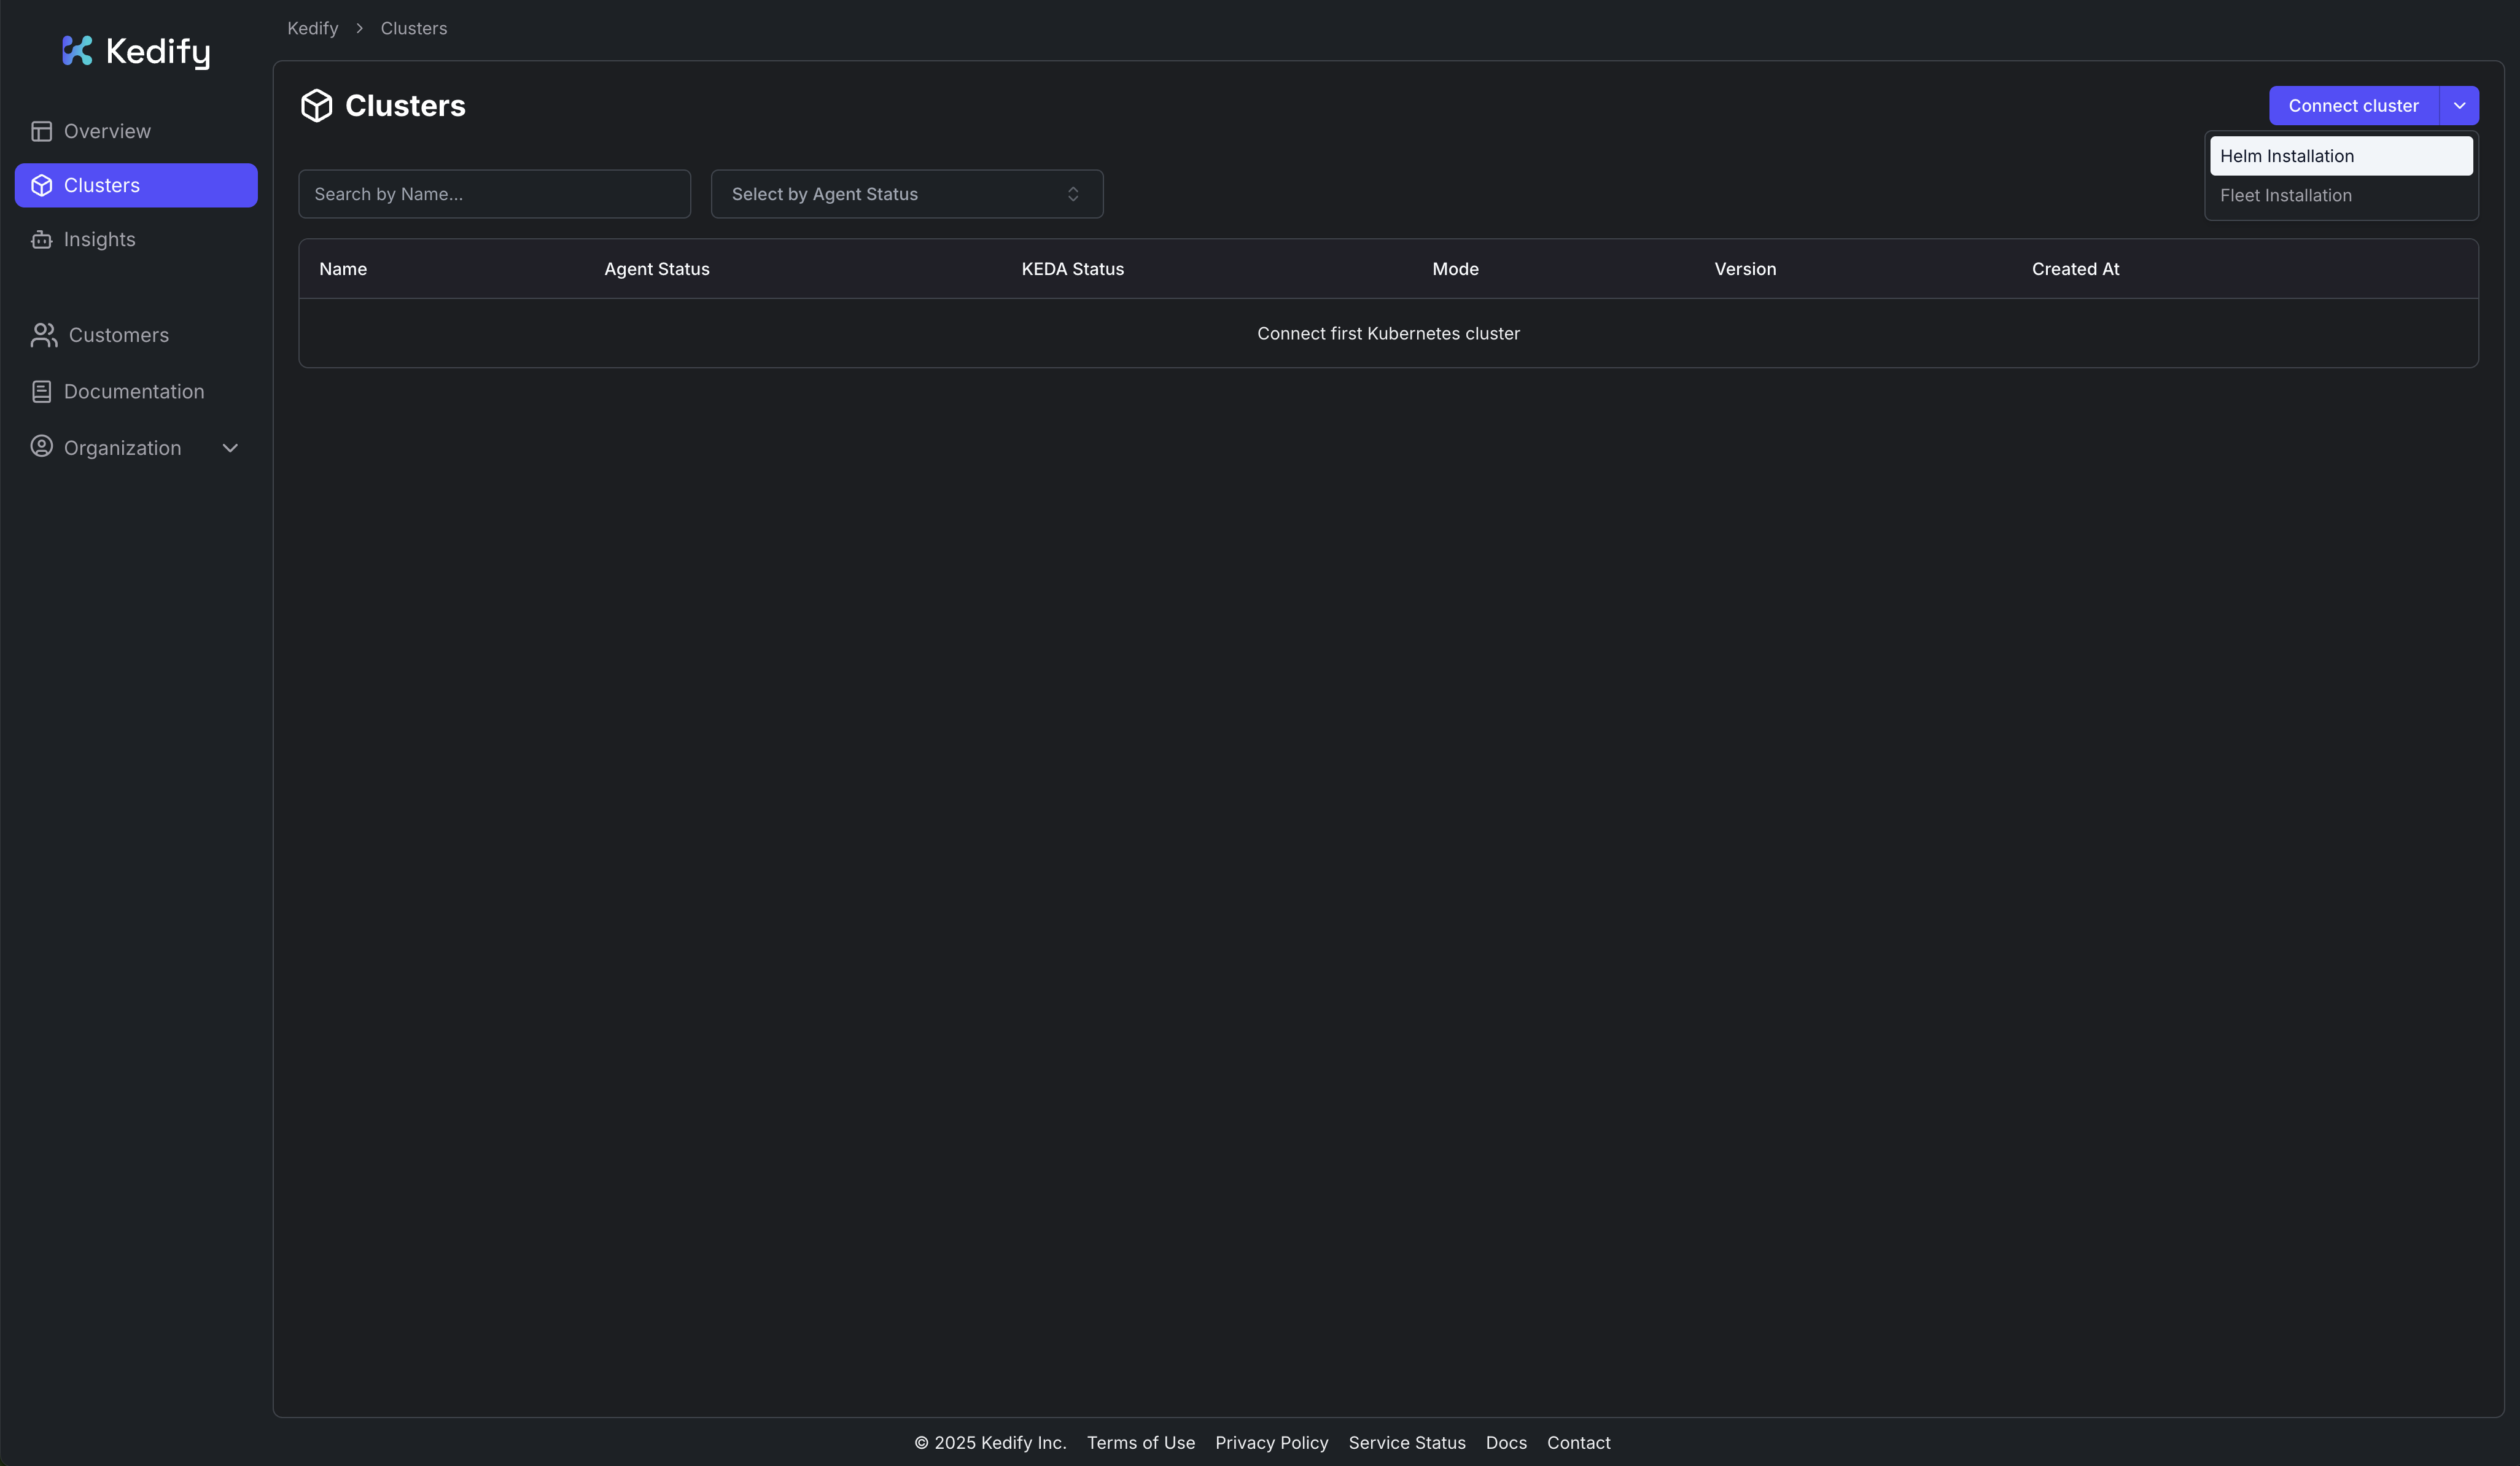
In the top-right corner, click the dropdown button to open the installation options, and select Helm Installation:
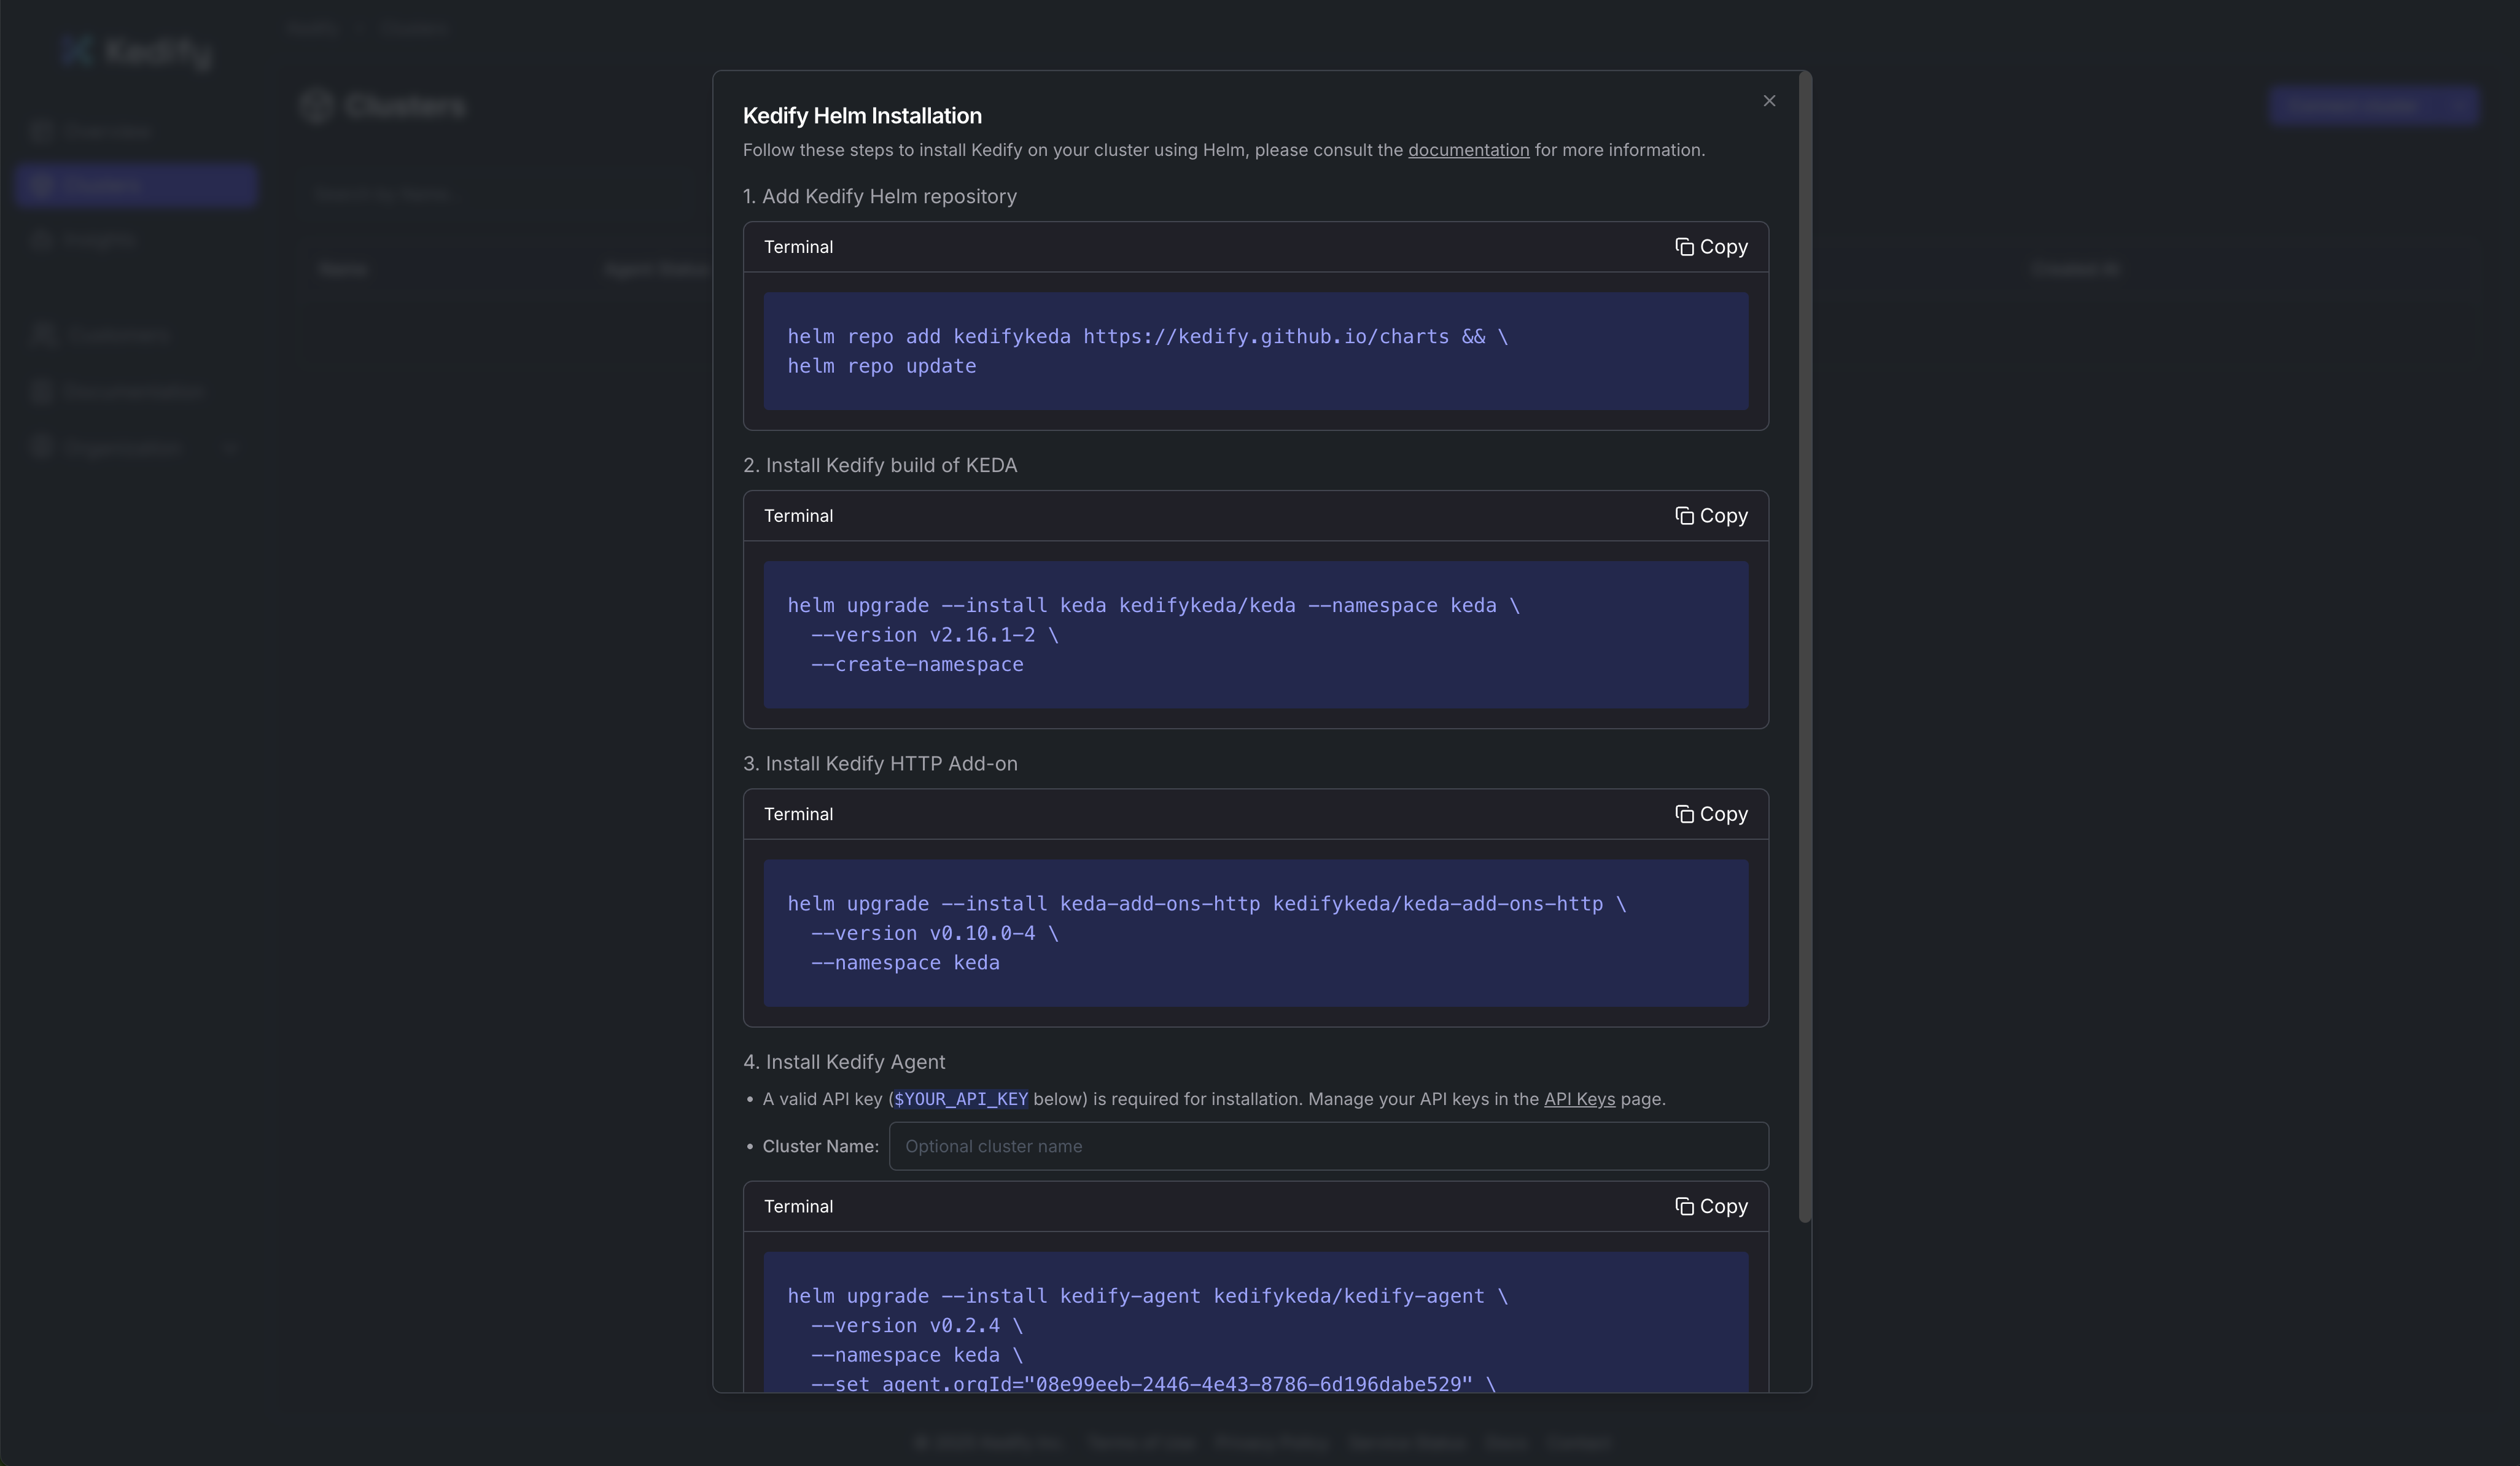
This opens a dialog showing the necessary steps to install the Kedify using Helm:
Prepare Installation
Follow these steps to install Kedify using Helm manually.
Getting Organization ID
In the Kedify dashboard, navigate to Organization and select Details. Copy the ID.
Getting API Key
If you already have a Kedify Agent deployed, you can retrieve your pre-provisioned API key from a Secret in the same Kubernetes cluster:
kubectl get secret -n keda kedify-agent -o=jsonpath='{.data.apikey}' | base64 --decode
If you don't have an existing Agent, you can generate a new API Key in the Kedify dashboard. Navigate to Organization and select API Keys. Click Create Agent Key and copy the key.
Helm Installation
The following steps guide you through the installation of Kedify on your cluster using Helm. Each component is installed individually from its respective Helm chart. This means you are responsible for updating each component separately.
You can either use the quick installation steps below with default values, or proceed to the advanced installation section for more customized configuration options.
Kedify Helm Repository
To install Kedify using Helm, you first need to add the Kedify Helm repository to your local Helm configuration.
helm repo add kedifykeda https://kedify.github.io/chartshelm repo updateQuick Installation
Follow these steps to quickly install Kedify using Helm with default settings.
1. Install Kedify build of KEDA:
helm upgrade --install keda kedifykeda/keda --namespace keda \--version v2.17.1-3 \--create-namespace2. Install Kedify HTTP Scaler:
helm upgrade --install keda-add-ons-http kedifykeda/keda-add-ons-http \--namespace keda \--version v0.10.0-143. Install Kedify Agent:
helm upgrade --install kedify-agent kedifykeda/kedify-agent \--namespace keda \--version v0.2.13 \--set clusterName="my-cluster" \--set agent.orgId="$YOUR_ORG_ID" \--set agent.apiKey="$YOUR_API_KEY"4. (Optional) Install OTel Scaler:
helm upgrade -i kedify-otel oci://ghcr.io/kedify/charts/otel-add-on \--namespace keda \--version v0.0.11Advanced Installation
For a more customized installation, you can create your own values.yaml files for each component.
1. Configure Kedify build of KEDA
Create a values_keda.yaml file with the following content. See all available options in the values.yaml file.
image:    keda:      tag: v2.17.1-3      registry: ghcr.io      repository: kedify/keda-operator    metricsApiServer:      tag: v2.17.1-3      registry: ghcr.io      repository: kedify/keda-metrics-apiserver    webhooks:      tag: v2.17.1-3      registry: ghcr.io      repository: kedify/keda-admission-webhookswatchNamespace: ''rbac:  scaledRefKinds:    - apiGroup: '*'      kind: '*'
## Please fill this file with your custom values based on the available options
2. Configure HTTP Scaler
Create a values_http.yaml file with the following content. See all available options in the values.yaml file.
images:    tag: v0.10.0-14    operator: ghcr.io/kedify/http-add-on-operator    interceptor: ghcr.io/kedify/http-add-on-interceptor    scaler: ghcr.io/kedify/http-add-on-scalerinterceptor:    replicas:        min: 1    resources:        requests:            cpu: '0.1'            memory: 32Mi        limits:            cpu: 1            memory: 64Miscaler:    replicas: 1    resources:        requests:            cpu: '0.1'            memory: 16Mi        limits:            cpu: 0.5            memory: 64Mioperator:    replicas: 0
## Please fill this file with your custom values based on the available options
3. Configure Kedify Agent
Create a values_kedify.yaml file with the following content. See all available options in the values.yaml file.
clusterName: my-clusteragent:  orgId: "YOUR_ORG_ID"  apiKey: "YOUR_API_KEY"  image:    tag: v0.2.13    repository: ghcr.io/kedify/agent
## Please fill this file with your custom values based on the available options
4. Install Kedify
To install Kedify using the custom values files, run the following commands:
helm upgrade --install keda kedifykeda/keda --namespace keda \    --create-namespace \    --values values_keda.yaml
helm upgrade --install keda-add-ons-http kedifykeda/keda-add-ons-http \    --namespace keda \    --values values_http.yaml
helm upgrade --install kedify-agent kedifykeda/kedify-agent \    --namespace keda \    --values values_kedify.yaml
4. (Optional) Install OTel Scaler
Prepare a values_otel.yaml file with the following content. See all available options in the values.yaml file.
image: repository: ghcr.io/kedify/otel-add-on tag: v0.0.11## Please fill this file with your custom values based on the available optionsThen, install the OTel Scaler using the following command:
helm upgrade --install kedify-otel oci://ghcr.io/kedify/charts/otel-add-on \ --namespace keda \ --values values_otel.yamlHelm Installation with Argo CD
To install the Helm charts using Argo CD, you can use the following manifests. They provide a base configuration for deploying keda, http-add-on, and kedify-agent.
Kedify build of KEDA Installation Manifest with Argo CD
apiVersion: argoproj.io/v1alpha1kind: Applicationmetadata:  name: keda  namespace: argocdspec:  destination:    namespace: keda    server: https://kubernetes.default.svc  project: default  source:    chart: keda    repoURL: https://kedify.github.io/charts    targetRevision: v2.17.1-3    helm:      values: |        image:          keda:            tag: v2.17.1-3            registry: ghcr.io            repository: kedify/keda-operator          metricsApiServer:            tag: v2.17.1-3            registry: ghcr.io            repository: kedify/keda-metrics-apiserver          webhooks:            tag: v2.17.1-3            registry: ghcr.io            repository: kedify/keda-admission-webhooks
        ## Please fill this section with your custom values based on the available options
  syncPolicy:    automated: {}    syncOptions:      - CreateNamespace=true      - ServerSideApply=true  ignoreDifferences:    - kind: APIService      group: apiregistration.k8s.io      jqPathExpressions:        - '.spec.insecureSkipTLSVerify'    - kind: ValidatingWebhookConfiguration      group: admissionregistration.k8s.io      jqPathExpressions:        - '.webhooks[].clientConfig.caBundle'
HTTP Scaler Installation Manifest with Argo CD
apiVersion: argoproj.io/v1alpha1kind: Applicationmetadata:  name: http-scaler  namespace: argocdspec:  destination:    namespace: keda    server: https://kubernetes.default.svc  project: default  source:    chart: keda-add-ons-http    repoURL: https://kedify.github.io/charts    targetRevision: v0.10.0-14    helm:      values: |        images:          tag: v0.10.0-14          operator: ghcr.io/kedify/http-add-on-operator          interceptor: ghcr.io/kedify/http-add-on-interceptor          scaler: ghcr.io/kedify/http-add-on-scaler        interceptor:          replicas:            min: 1        scaler:          replicas: 1        operator:          replicas: 0
        ## Please fill this section with your custom values based on the available options
Kedify Agent Installation Manifest with Argo CD
apiVersion: argoproj.io/v1alpha1kind: Applicationmetadata:  name: kedify-agent  namespace: argocdspec:  destination:    namespace: keda    server: https://kubernetes.default.svc  project: default  source:    chart: kedify-agent    repoURL: https://kedify.github.io/charts    targetRevision: v0.2.13    helm:      values: |        clusterName: my-cluster    # EDIT THIS        agent:          orgId: "$YOUR_ORG_ID"    # EDIT THIS          apiKey: "$YOUR_API_KEY"  # EDIT THIS
        ## Please fill this section with your custom values based on the available options
OTel Scaler Installation Manifest with Argo CD
apiVersion: argoproj.io/v1alpha1kind: Applicationmetadata:  name: kedify-otel  namespace: argocdspec:  destination:    namespace: keda    server: https://kubernetes.default.svc  project: default  source:    repoURL: oci://ghcr.io/kedify/charts/otel-add-on    targetRevision: v0.0.11    helm:      values: |        image:          repository: ghcr.io/kedify/otel-add-on          tag: v0.0.11
        ## Please fill this section with your custom values based on the available options
Verifying Installation
After installing Kedify, you can verify the installation by checking the status of the Kedify Agent and KEDA components in your cluster.
kubectl get pods -n kedaYou should see output similar to the following, indicating that all components are running:
NAME READY STATUS RESTARTS AGEkeda-add-ons-http-external-scaler-8464ffbdc5-9xf2t 1/1 Running 0 66skeda-add-ons-http-interceptor-86bbbbcdb6-rb77p 1/1 Running 0 66skeda-admission-webhooks-54d747fd77-46hz8 1/1 Running 0 66skeda-operator-679d985bf7-s29m5 1/1 Running 0 66skeda-operator-metrics-apiserver-845c769bcd-qghqj 1/1 Running 0 66skedify-agent-74df5f847-rmv8b 1/1 Running 0 66sotel-add-on-scaler-55ff5fcb77-krfxs 1/1 Running 0 66sotelcol-786f85f4c7-hfdp6 1/1 Running 0 66s