Quickstart
The following quickstart guide will walk you through installing KEDA + Kedify in a k3d Kubernetes cluster and deploying a sample application to demonstrate how Kedify scales an application using HTTP requests.
Prerequisites
-
kubectlcommand line utility installed and accessible -
curlcommand line utility installed and accessible - k3d installed on the machine via
orbrew install k3dor using an installation method of your choice.curl -s https://raw.githubusercontent.com/rancher/k3d/main/install.sh | bash
Create a new k3d cluster
In order to try HTTP based autoscaling with our sample application, we need to create a cluster with properly configured ingress.
We can create a k3d cluster with port forwarding to the cluster's load balancer.
k3d cluster create --port "9080:80@loadbalancer"KEDA + Kedify Installation
Let's install KEDA + Kedify on your cluster! The following three steps will walk you through the basics. Installing the Kedify Agent will automatically install KEDA.
Step 1: Install via Terminal Command
After running the command, you should see the Kedify Agent and KEDA installed in your cluster.
kubectl get deployment -n keda -wThe Kedify Agent will be installed as the first step, then it will configure KEDA with HTTP Add-On in the same namespace and in a minute (once all images are pulled, based on your connection speed), the output should be similar to this:
NAME READY UP-TO-DATE AVAILABLE AGEkedify-agent 1/1 1 1 1mkeda-add-ons-http-interceptor 1/1 1 1 1mkeda-add-ons-http-controller-manager 1/1 1 1 1mkeda-add-ons-http-external-scaler 1/1 1 1 1mkeda-operator 1/1 1 1 1mkeda-operator-metrics-apiserver 1/1 1 1 1mkeda-admission-webhooks 1/1 1 1 1mStep 2: Autoscale Application
Run the following commands to deploy a sample application that responds to HTTP requests.
kubectl apply -f 'https://dashboard.kedify.io/public/files/sample_http_deployment.yaml'Confirm the application is deployed correctly.
kubectl get deployment -n default -wYou should see the following output:
NAME READY UP-TO-DATE AVAILABLE AGEhttp-demo-deployment 1/1 1 1 26sTest the application is working correctly
We are making an HTTP request to the application to confirm it is working correctly. The request is made to the `k3d` load balancer, which is listening on port 9080, we are using the host header to route the request to the correct service.
curl -I -H 'host: demo.keda' http://localhost:9080You should see the following output:
HTTP/1.1 200 OKContent-Length: 320Content-Type: text/htmlDate: Tue, 23 Jul 2024 22:27:59 GMTAdd ScaledObject
Run the following command to deploy a `ScaledObject` that will scale the application based on the number of HTTP requests.
kubectl apply -f 'https://dashboard.kedify.io/public/files/sample_http_scaledobject.yaml'Confirm the app is scaled to zero
Confirm the application has been scaled to zero and that Kedify Proxy is running correctly. The `ScaledObject` defined above tells KEDA to scale down to 0 when there is no HTTP traffic flowing to the application.
kubectl get deployment -n default -wYou should see the following output, app scaled to zero and Kedify Proxy up and running:
NAME READY UP-TO-DATE AVAILABLE AGEhttp-demo-deployment 0/0 0 0 12mkedify-proxy 1/1 1 1 35sStep 3: Monitor Autoscaling
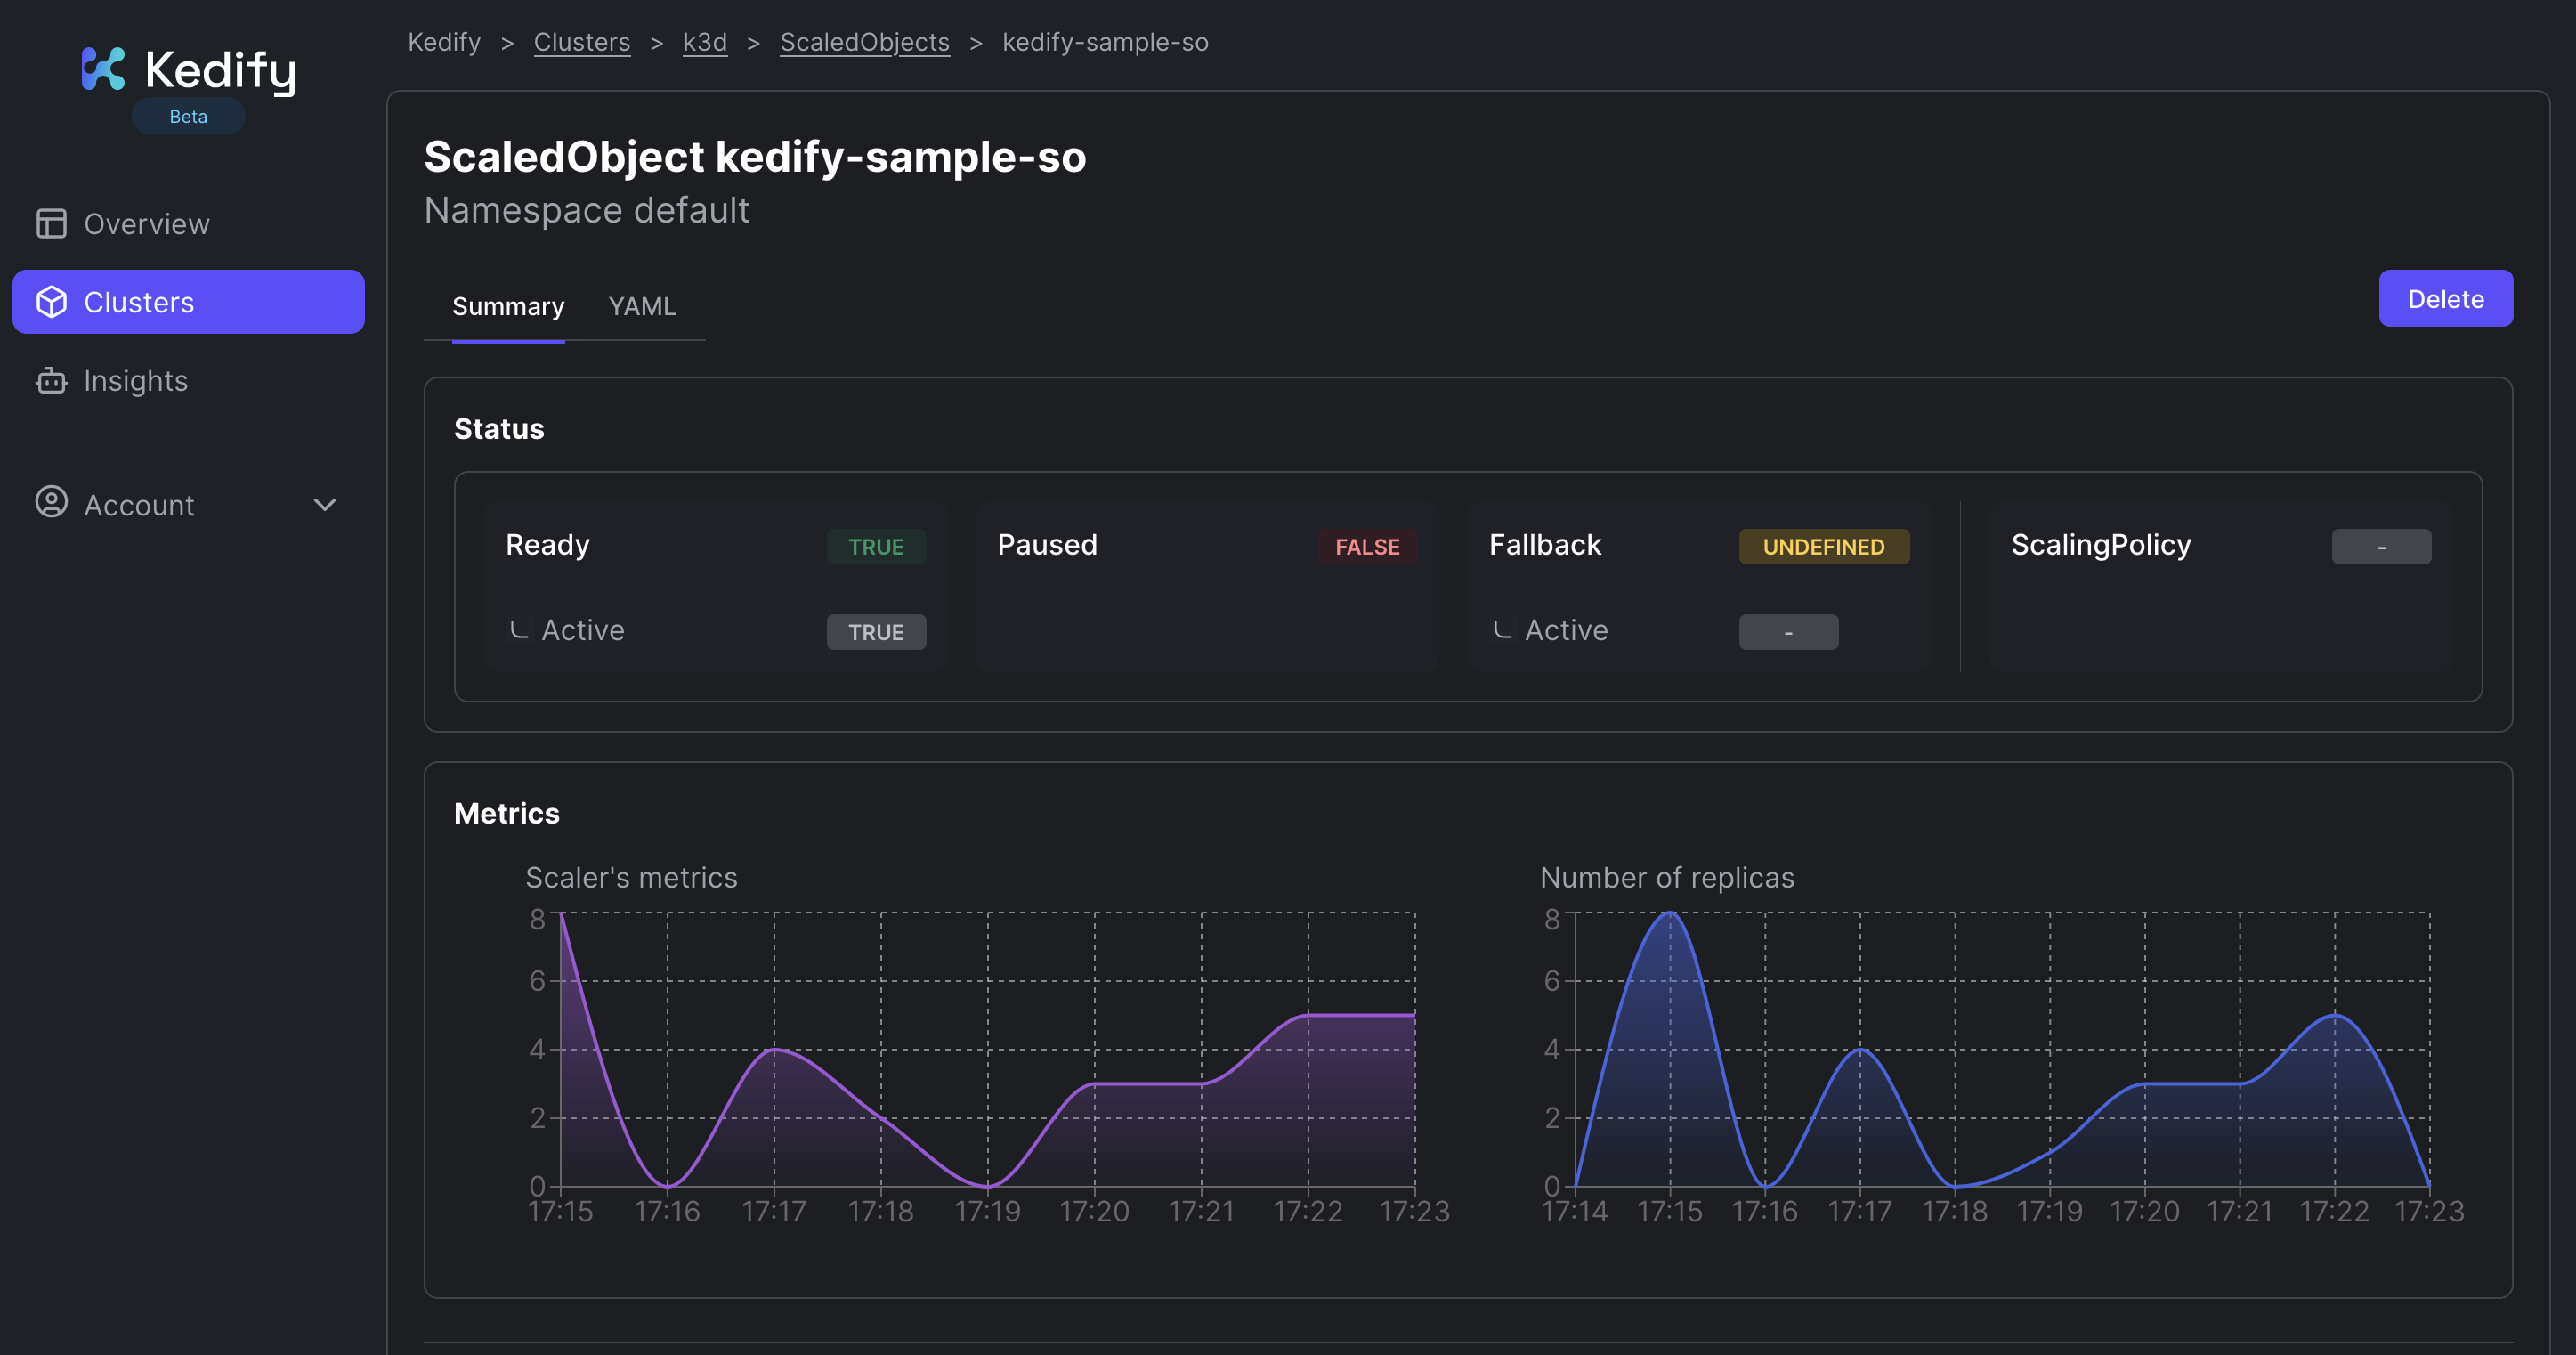
Perform another HTTP request to test that the application is correctly scaled out and responds correctly.
curl -I -H 'host: demo.keda' http://localhost:9080You should see the following output:
HTTP/1.1 200 OKContent-Length: 320Content-Type: text/htmlDate: Tue, 23 Jul 2024 22:39:29 GMTServer: envoyX-Envoy-Upstream-Service-Time: 4103X-Keda-Http-Cold-Start: trueConfirm the application has been scaled out to handle the traffic.
kubectl get deployment -n defaultYou should see the following output:
NAME READY UP-TO-DATE AVAILABLE AGEkedify-proxy 1/1 1 1 3m9shttp-demo-deployment 1/1 1 1 14mBy sending more requests you can see that the application is scaled out to a higher number of replicas.

Next Steps
- Review the Kedify Key Concepts
- Check out the Example AI Cluster Dashboard